


Why you can't just upload any old image to your website
Images taken on modern phones and cameras are designed for printing, editing, and storage — not for being downloaded repeatedly by people on mobile connections.
Uploading a 25 MB photo straight from your iPhone or DSLR will absolutely tank your site’s performance, especially once you add more than one image to a page.
Left untouched, oversized images slow your pages down, hurt your search rankings and make your site feel sluggish and unpolished.
And the damage stacks quickly. A handful of large images can add multiple megabytes to every page load, whether visitors actually see that quality or not.
Optimising images for the web isn’t about making them look worse.
It’s about removing data your visitors will never see, while keeping images visually sharp at the size they’re actually used.
That means:
- Using the right dimensions
- Choosing the right file format
- Compressing intelligently, not blindly
- Checking the result before uploading
Below is a simple, repeatable (and free) workflow that does exactly that.
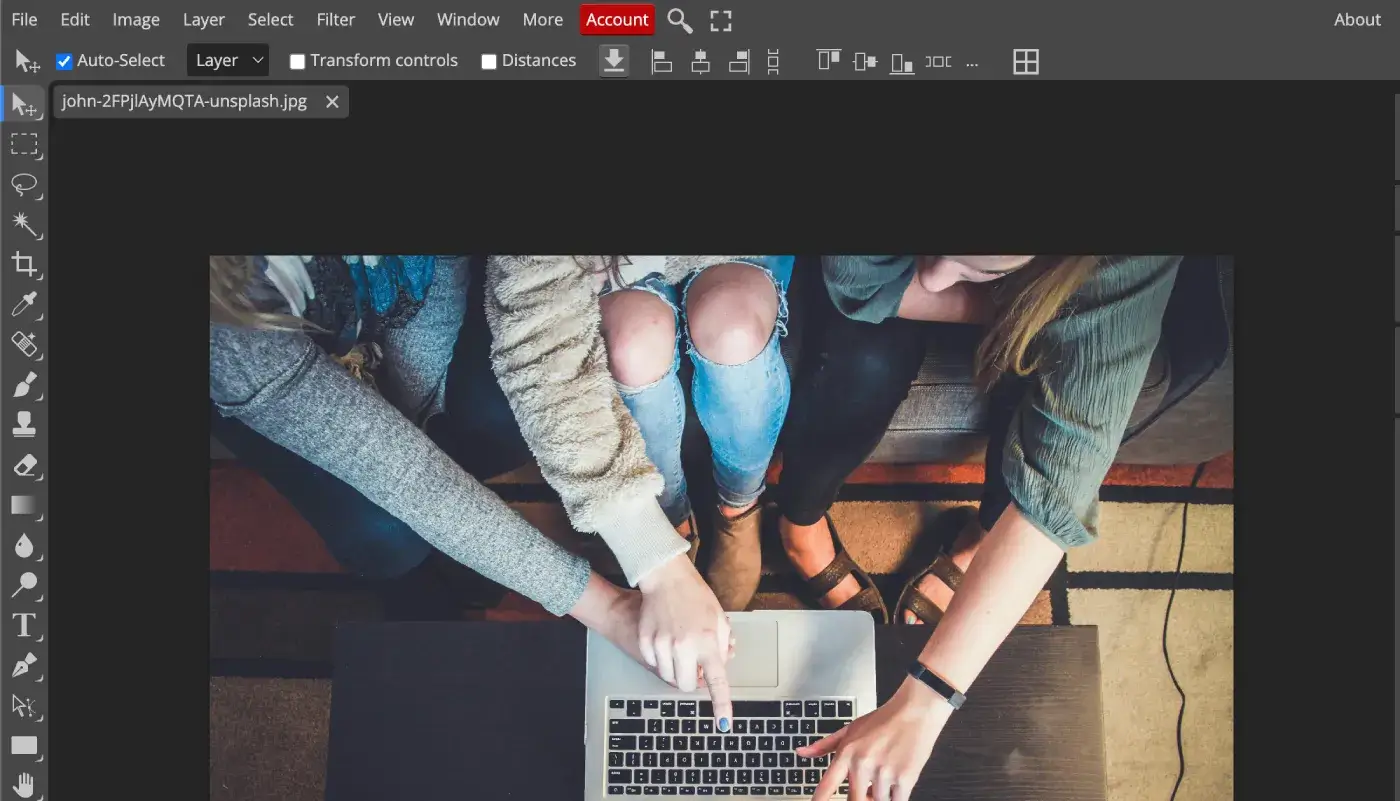
Step 1: Start with the original file (don’t compress junk)
Open your original image in Photopea.
Note: If your source image is already blurry, low quality or massively compressed, nothing you do later will save it.
Before exporting, make sure you know how large the image will actually appear on the site. Don’t rely on your website to shrink massive images.
Use the table below as a reference, not a hard law. Your image size should be roughly within the corresponding pixel ranges:
Pixel dimensions are what matter, ignore DPI.
Step 2: Export to WebP and balance quality properly
Export the image as WebP. In most cases, it delivers much smaller file sizes than PNG or JPEG at similar visual quality.
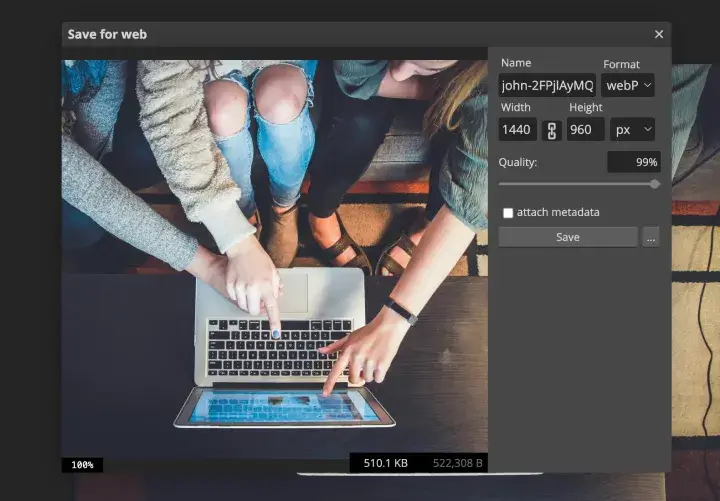
Set the width and height to match the largest size the image will be displayed.
Now slow down and drag the quality slider carefully.
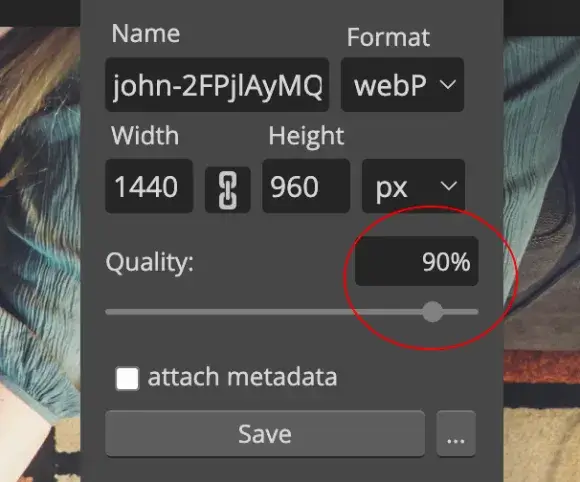
You’re looking for the point where:
- File size drops quickly
- Visual quality barely changes
This “sweet spot” is usually much lower than people expect.
Zoom in, move around the image, and compare settings.
Don’t aim for perfection — aim for no visible damage at 100% zoom.
Step 3: Compress again (yes, again)
Take that exported WebP and run it through TinyPNG.
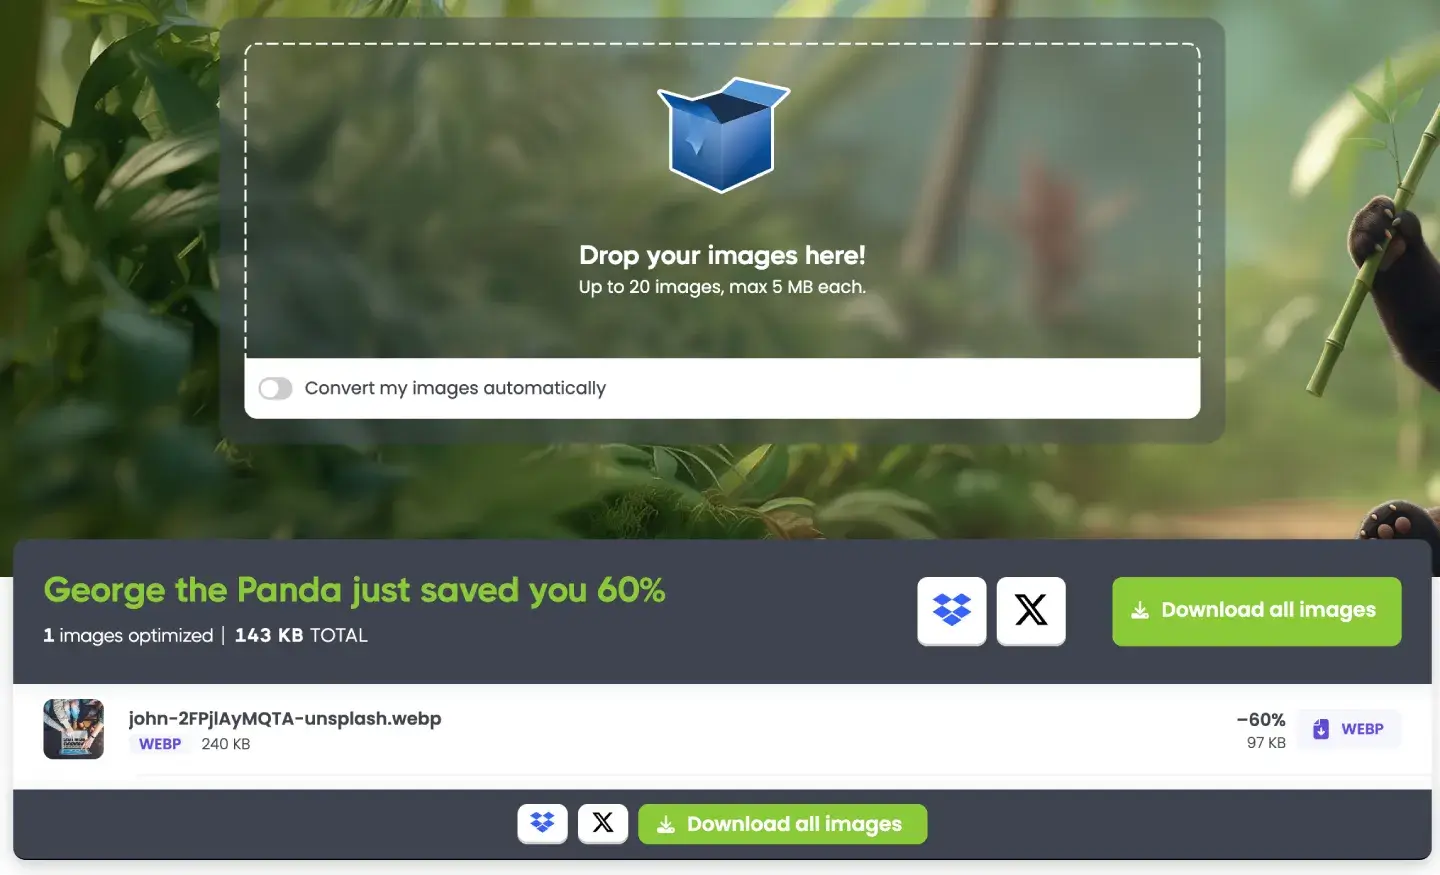
Even after exporting properly, TinyPNG often squeezes out extra weight with zero visible loss.
When it’s done:
- Compare before vs after
- Zoom in on edges, shadows, gradients
If it looks virtually the same, keep it
If it looks worse, go back to Step 1 and export slightly higher quality from Photopea.
I reduced a test image from 1.5 MB to 97 KB — a 94% reduction with no visible quality loss at the size it’s used.


On a typical UK connection (~50 Mbps), that cuts download time from 0.24 seconds to 0.015 seconds.
One image doesn’t sound like much — but stack four unoptimised images and you’ve just added a full second to your page load before anything else even starts loading.
You've only got around 3 seconds before half your visitors leave, so make them count and don't waste them on downloading images.
Step 4: Upload with confidence
Once the image:
- Is the right size
- Is WebP
- Is compressed
- Looks good at 100%
Upload it and move on.
This takes a few extra minutes per image, but it saves hours of performance issues later. If you care about how your site actually feels to real users, this isn’t optional.
If you want help optimising images — or fixing performance properly — you know where to find me!


.svg)